
West Bend Bread Maker Manual: A Comprehensive Guide
This guide provides detailed instructions for West Bend bread makers, covering models like 41065, 41073, and 41063, ensuring successful baking experiences.
Understanding Your West Bend Bread Maker
West Bend bread makers are designed for convenient, homemade bread creation. These appliances feature pre-programmed settings for various bread types, including basic, whole wheat, and gluten-free options. Key components include the loaf pan and dual knead blades, essential for proper dough development.
Understanding the control panel is crucial; it allows you to select loaf size (2lb, 2.5lb) and crust color. The model number, often found on the appliance’s base, is vital for locating the correct manual and replacement parts. Remember to exercise extreme caution when the appliance is in operation, and always save these instructions for future reference.
Identifying Your Model Number
Locating your West Bend bread maker’s model number is the first step towards accessing specific support and resources. This crucial identifier is typically found on a sticker or plate affixed to the appliance itself. Check the bottom or back of the unit, or within the bread maker’s lid compartment.
Common model numbers include 41065, 41073, 41063, and 41048. The correct number is listed as a catalog or model number. Knowing this number ensures you download the appropriate manual, order compatible replacement parts, and receive accurate troubleshooting assistance. It’s essential for maximizing your bread maker’s functionality and longevity.
Locating the Manual Online
Finding your West Bend bread maker manual online is convenient and readily available. Sears Parts Direct is a valuable resource, offering manuals and part diagrams for various models, including the 41065. A manual for model West Bend 41065 can be directly downloaded from their website.
Additionally, sites like Manualzz archive user manuals; the West Bend 41073, 41065Z, 41063, and 41048 manuals were added on February 13, 2021. A simple web search using “West Bend bread maker manual” and your specific model number will yield numerous results, providing access to digital copies for easy reference and troubleshooting.
Manual Availability for Specific Models (41065, 41073, 41063, 41048)
West Bend bread maker manuals are accessible for popular models. The 41065 model has a readily downloadable manual via Sears Parts Direct, aiding in repairs and operation. Manuals for the 41073, 41065Z, 41063, and 41048 are archived on platforms like Manualzz, added on February 13, 2021.

Confirming the correct model number – often listed as a catalog or model number on the appliance – is crucial for finding the appropriate manual. These resources provide detailed instructions, troubleshooting tips, and safety precautions specific to each model, ensuring optimal performance and longevity of your bread maker.
Key Features and Components
West Bend bread makers boast dual knead blades, a horizontal loaf pan, and a user-friendly control panel with adjustable crust color and loaf size options.

Loaf Pan and Dual Knead Blades
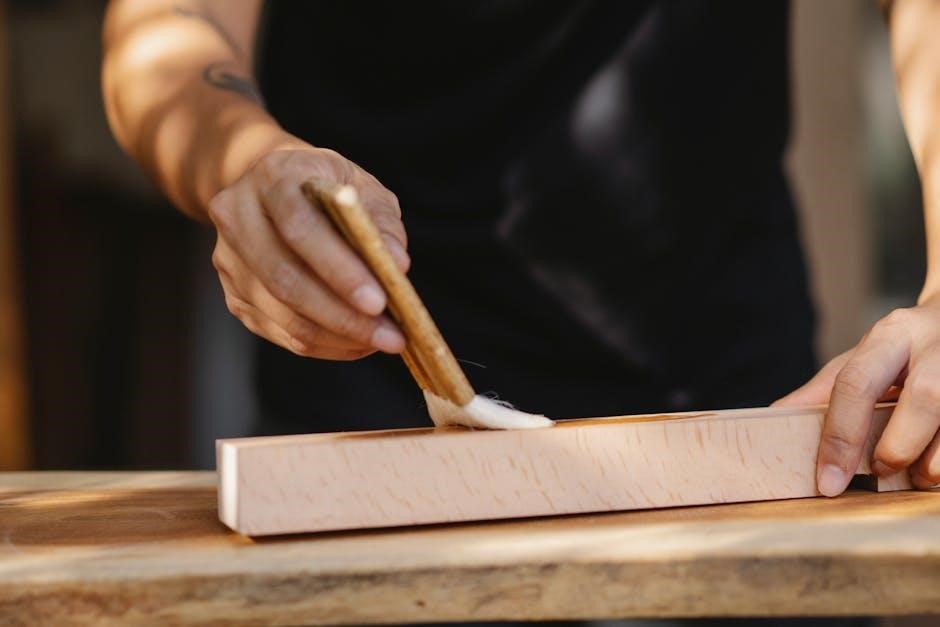
The West Bend bread maker utilizes a traditionally-shaped, horizontal loaf pan designed for optimal bread formation and even baking. This pan accommodates various loaf sizes, typically 2lb and 2.5lb, catering to different household needs.
A key feature is the inclusion of dual knead blades. These blades work in tandem to thoroughly mix and knead ingredients, ensuring a consistent dough texture crucial for a well-risen and flavorful loaf. The dual action effectively incorporates all ingredients, even heavier ones, resulting in a uniform distribution throughout the bread.
Properly seating the knead blades into the drive shafts is essential before operation. Regular inspection of the blades for wear and tear is recommended to maintain optimal performance and bread quality.

Control Panel Overview
The West Bend bread maker’s control panel features a digital display and intuitive buttons for easy operation. Typically, you’ll find buttons for power, menu selection, crust color adjustment, loaf size choice (2lb, 2.5lb), and start/stop control.
The panel allows access to pre-programmed settings like basic, whole wheat, French, and gluten-free, simplifying the baking process. A delay timer function is also commonly included, enabling you to schedule baking in advance. The display clearly shows the selected program, remaining baking time, and any error messages.
Familiarizing yourself with the panel’s layout and functions is crucial for maximizing the bread maker’s capabilities.
Crust Color Settings
West Bend bread makers offer adjustable crust color settings, allowing you to customize your loaf’s exterior to your preference. Typically, there are three options: light, medium, and dark. Selecting a lighter setting results in a paler crust, while a darker setting produces a richer, more deeply browned crust.
The chosen crust color impacts both the appearance and the texture of the bread. A lighter crust is often softer, while a darker crust provides a more substantial, crispy bite. Experimenting with these settings is encouraged to find your ideal crust.
Remember that humidity and ingredient variations can slightly affect the final crust color.
Loaf Size Options (2lb, 2.5lb)
West Bend bread makers commonly offer two loaf size options: 2-pound and 2.5-pound. Selecting the appropriate loaf size is crucial for optimal baking results. The 2-pound loaf is ideal for smaller households or those wanting a more manageable loaf size. The 2.5-pound loaf is better suited for larger families or individuals who consume bread frequently.
Ensure you adjust the ingredient quantities according to the chosen loaf size. Using the correct proportions is vital for proper rising and baking. Refer to your recipe or the manual’s ingredient chart for guidance.

Using the wrong loaf size can affect the bread’s texture and rise.
Operating Instructions
Follow the basic bread-making process, utilizing pre-programmed settings or exploring gluten-free options for diverse baking needs with your West Bend machine.
Basic Bread Making Process
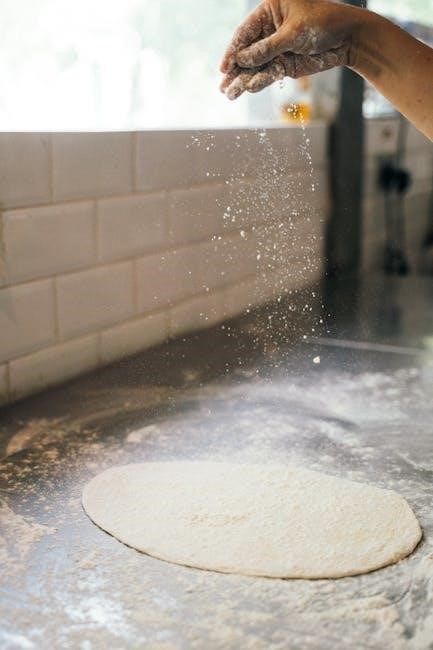
Begin by adding ingredients to the loaf pan, ensuring liquids are added first, followed by dry ingredients, and finally yeast on top – avoid direct contact with liquids;
Securely place the loaf pan into the bread maker, and then firmly attach the dual knead blades. Select your desired loaf size (2lb or 2.5lb) and crust color using the control panel.
Choose a pre-programmed setting, such as ‘Basic’ or ‘Whole Wheat’, or manually adjust settings for custom recipes. Press ‘Start’ to initiate the bread-making cycle, which typically includes kneading, rising, and baking.
Once the cycle is complete, carefully remove the loaf pan, allowing the bread to cool completely before slicing and enjoying your freshly baked bread!
Using Pre-Programmed Settings
West Bend bread makers offer convenient pre-programmed settings for various bread types, simplifying the baking process. The ‘Basic’ setting is ideal for traditional white bread, while ‘Whole Wheat’ caters to denser, healthier loaves.
For gluten-free baking, select the dedicated ‘Gluten-Free’ setting, which adjusts kneading and rising times accordingly. The ‘Sweet’ setting is perfect for enriched doughs like brioche or cinnamon swirl bread.
Explore settings like ‘French’ for crusty baguettes, ‘Dough’ for pizza or rolls, and ‘Jam’ for homemade preserves. Simply select the appropriate setting, add ingredients, and press ‘Start’ – the machine handles the rest!
Refer to your manual for specific ingredient recommendations and cycle times for each pre-programmed setting, ensuring optimal results.
Gluten-Free Baking
West Bend bread makers feature a dedicated ‘Gluten-Free’ setting, crucial for successful gluten-free loaves. This setting adjusts kneading and rising times, as gluten-free doughs require different handling;
Utilize a high-quality gluten-free flour blend specifically formulated for bread machines. These blends often contain xanthan gum, essential for binding and structure. Ensure accurate measurements, as gluten-free baking is less forgiving.
Consider adding a tablespoon of apple cider vinegar to the dough; it aids in activating the baking powder and improving texture. Monitor the dough consistency – it will be wetter than traditional bread dough.
Experiment with different gluten-free recipes and adjust ingredients as needed. The ‘Gluten-Free’ setting provides a convenient starting point for delicious, homemade gluten-free bread.
Maintenance and Troubleshooting
Regular cleaning and addressing common issues, like dough sticking, are vital for optimal performance. Always unplug the bread maker before cleaning!
Cleaning Your Bread Maker
Before cleaning, always ensure the bread maker is unplugged and completely cooled. The loaf pan and dual knead blades are typically removable and can be washed with warm, soapy water. Avoid abrasive cleaners, as they may damage the non-stick coating;
The exterior of the bread maker can be wiped down with a damp cloth. Do not immerse the appliance in water or any other liquid. Pay attention to cleaning around the control panel, ensuring no moisture enters.
Thoroughly dry all components before reassembling. Regular cleaning prevents buildup and ensures consistent baking results. Save these instructions for future reference, as proper care extends the life of your appliance.
Common Issues and Solutions
If your bread doesn’t rise, check the yeast’s expiration date and ensure proper measuring. A collapsed loaf might indicate too much liquid; reduce the amount slightly in future attempts. Uneven baking could stem from uneven ingredient distribution – ensure thorough mixing.
For a burnt crust, select a lighter crust color setting. If the kneading blade gets stuck, stop the machine, unplug it, and carefully remove the dough. Always exercise extreme caution during operation.
If the bread maker won’t start, verify it’s securely plugged in. Consult the manual for specific error codes and troubleshooting steps related to your model number.
Safety Precautions
Always unplug your West Bend bread maker before cleaning or attempting any maintenance. Never immerse the appliance in water or other liquids to prevent electrical shock. Exercise extreme caution when moving the bread maker during operation, as it contains hot components.
Keep the cord away from hot surfaces. Do not operate the appliance with a damaged cord or plug. Supervise children closely when the bread maker is in use. Avoid touching hot surfaces, like the loaf pan and heating element, even with oven mitts.
Save these instructions for future reference and ensure proper ventilation during operation. Never attempt to repair the appliance yourself; contact qualified personnel for assistance.
Advanced Features
Explore programmable settings, a convenient delay timer, and the warming function for freshly baked bread, enhancing your West Bend baking experience with versatility.
Programmable Settings
West Bend bread makers offer a range of programmable settings, allowing bakers to customize their recipes and achieve perfect results. These settings go beyond the pre-programmed options, providing greater control over the baking process. Users can adjust kneading times, rising times, and baking durations to suit specific flour types or desired loaf textures.
This level of customization is particularly useful for experimenting with different bread recipes or adapting to varying environmental conditions. The ability to fine-tune these parameters ensures consistent outcomes, even with changes in humidity or temperature. Furthermore, some models feature the ability to create and save custom programs, streamlining the baking process for frequently used recipes. This feature simplifies baking and delivers consistently delicious bread.
Delay Timer Function
The delay timer function on your West Bend bread maker allows for convenient, freshly baked bread whenever you desire. This feature enables you to add ingredients and set a delayed start time, ensuring a warm loaf is ready in the morning or upon your return home. Simply calculate the total baking time, and subtract it from your desired finish time to determine the appropriate delay setting.
It’s crucial to avoid using perishable ingredients, like milk or eggs, when utilizing the delay timer, especially for extended delays, to prevent spoilage. Proper ingredient order is also important; liquids typically go in first, followed by dry ingredients, and finally yeast. This ensures optimal activation and a successful bake, providing a delightful aroma and taste.
Warm Feature
The Warm feature on your West Bend bread maker is designed to keep your freshly baked loaf at an optimal serving temperature for a limited time after the baking cycle completes. This is incredibly convenient if you’re not immediately ready to enjoy your bread, preventing it from cooling down too quickly and becoming stale.
Typically, the warm function maintains a gentle heat for up to one hour, though this duration may vary depending on the specific model. It’s important to note that this feature doesn’t reheat the bread, but rather maintains its existing warmth. Always unplug the bread maker after use, even when the warm feature is active, for safety.
Parts and Accessories

Find replacement parts and compatible accessories for your West Bend bread maker through retailers like Sears Parts Direct and eBay, ensuring continued use.
Finding Replacement Parts
Locating replacement parts for your West Bend bread maker is crucial for maintaining its functionality. Sears Parts Direct is a valuable resource, offering a wide selection of parts, manuals, and detailed part diagrams specifically tailored for various repair projects. When searching, accurately identifying your model number is paramount; the correct number is typically listed as a catalog or model number on the appliance itself.

eBay also presents a significant marketplace for both new and used West Bend bread machine parts. Regularly browsing this platform can uncover hard-to-find components or cost-effective alternatives. Remember to verify the part’s compatibility with your specific model before purchasing. Maintaining a functional bread maker often hinges on readily available replacement parts, extending its lifespan and ensuring continued baking success.
Compatible Accessories
Enhance your West Bend bread maker’s capabilities with compatible accessories. While specific accessories designed exclusively for West Bend models may be limited, standard bread maker components often offer versatility. Consider exploring options like extra loaf pans, allowing for continuous baking without interruption. Dual knead blades are standard, but replacements ensure optimal dough development.
Horizontal bread pans, traditionally shaped, are commonly used with these machines, supporting various loaf sizes. Exploring online marketplaces like eBay can reveal compatible accessories from other brands that may fit your West Bend model. Always prioritize safety and ensure any accessory used doesn’t interfere with the machine’s operation or void any warranties.