Pentax ME Super Instruction Manual: A Comprehensive Guide
Welcome to the instruction manual for your newly arrived Pentax ME Super! This guide aims to help you maximize your product’s potential with a complete overview.
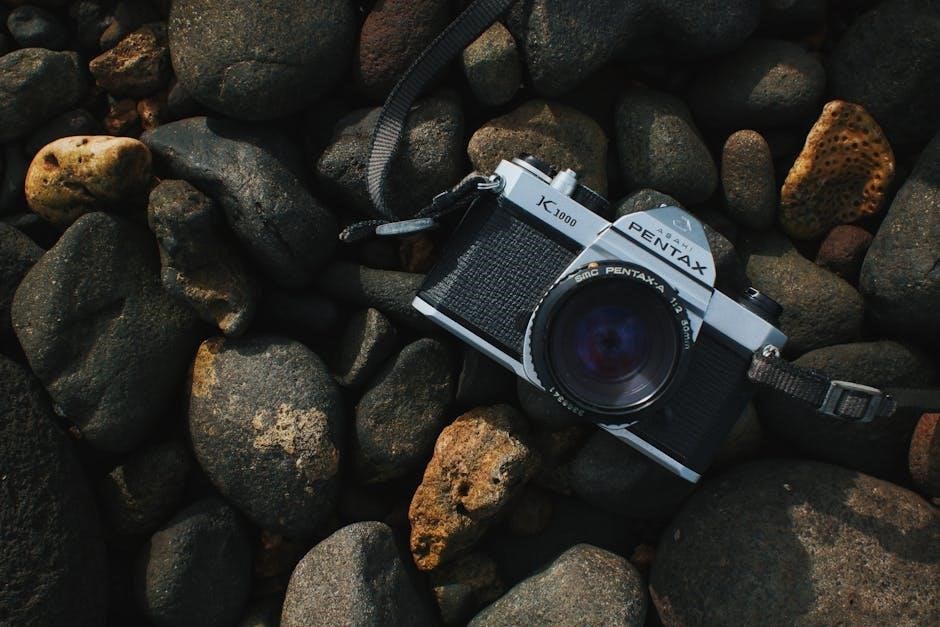
The Pentax ME Super, released in 1979, represents a pivotal moment in 35mm SLR camera history. This manual serves as your comprehensive companion, designed to unlock the full capabilities of this classic camera. It’s built for both novice and experienced photographers seeking a reliable and versatile tool.
We’ll explore everything from basic operation to advanced techniques, ensuring you understand how to achieve stunning results. This guide provides a detailed walkthrough, covering all aspects of the ME Super, allowing you to confidently capture memorable images. Prepare to delve into the world of analog photography!

Historical Context & Significance
Launched in 1979, the Pentax ME Super arrived during a golden age of SLR innovation. It quickly gained popularity as a sophisticated yet accessible camera, bridging the gap between fully manual and automated systems. Pentax aimed to deliver professional-level features in a compact and user-friendly package.
The ME Super’s significance lies in its pioneering use of microelectronics for shutter speed control and exposure modes. It was a commercially successful model, solidifying Pentax’s reputation for quality and innovation. This camera represents a key step in the evolution of photographic technology, influencing designs for years to come.
Key Features and Specifications
The Pentax ME Super boasts a horizontally-traveling metal focal-plane shutter, offering speeds from 2 to 1/2000th of a second. It features both aperture-priority and shutter-priority auto exposure modes, alongside full manual control. The camera accepts Pentax K-mount lenses, providing versatility.
Its built-in TTL center-weighted metering system ensures accurate exposures. The ME Super utilizes a mechanical film advance lever and a rewind crank. Powered by a 4LR44/PX28 battery, it’s a robust and reliable camera. Viewfinder displays crucial exposure information, aiding precise shooting.
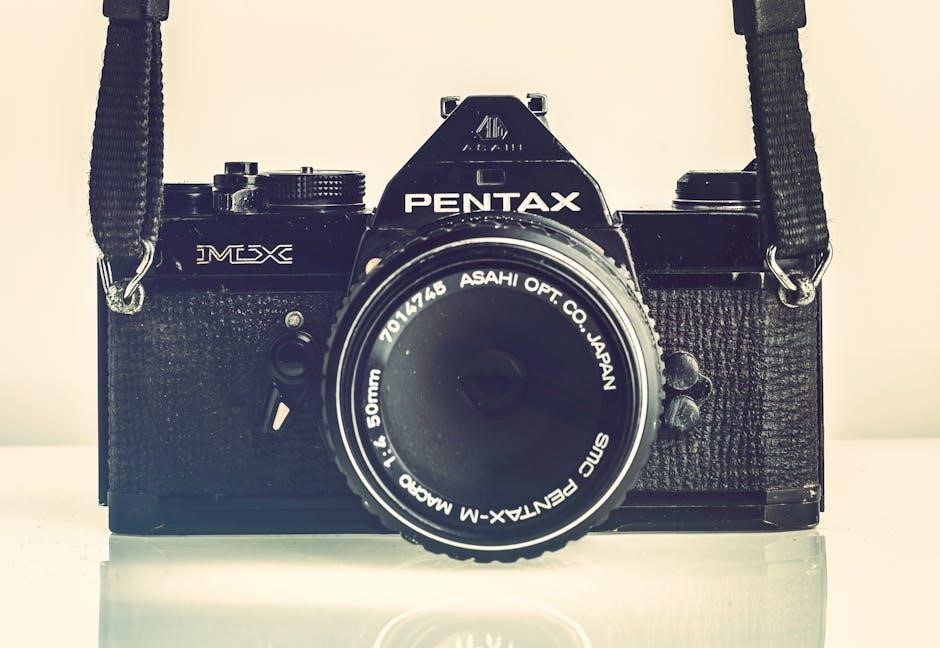
Understanding the Camera Body
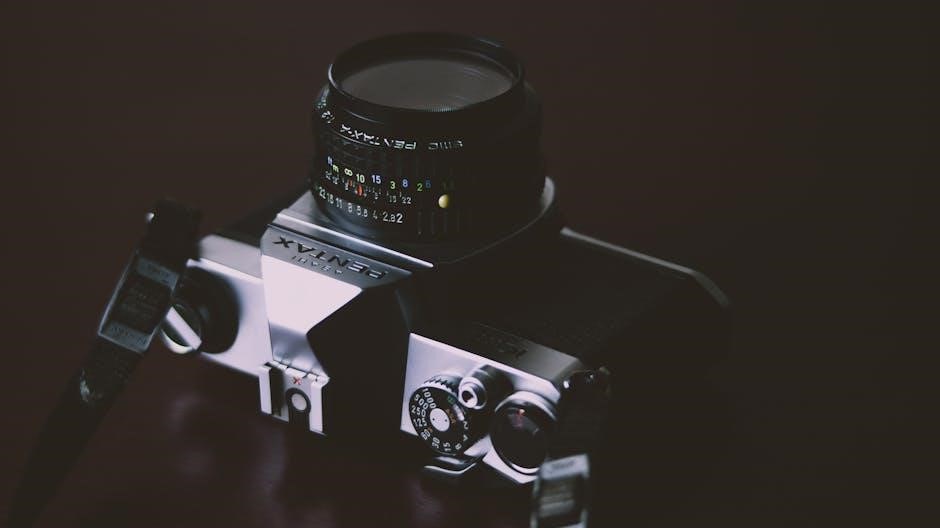
The Pentax ME Super’s body is primarily constructed from metal, offering a solid and durable feel. Its compact size belies its capabilities. Familiarizing yourself with the layout is key to efficient operation. The top deck houses the shutter speed dial, exposure mode selector, and film advance lever.
The front panel features the lens mount and self-timer control. The back door provides access to the film chamber and viewfinder. Careful examination reveals thoughtfully placed controls for seamless adjustments, enhancing the overall shooting experience.
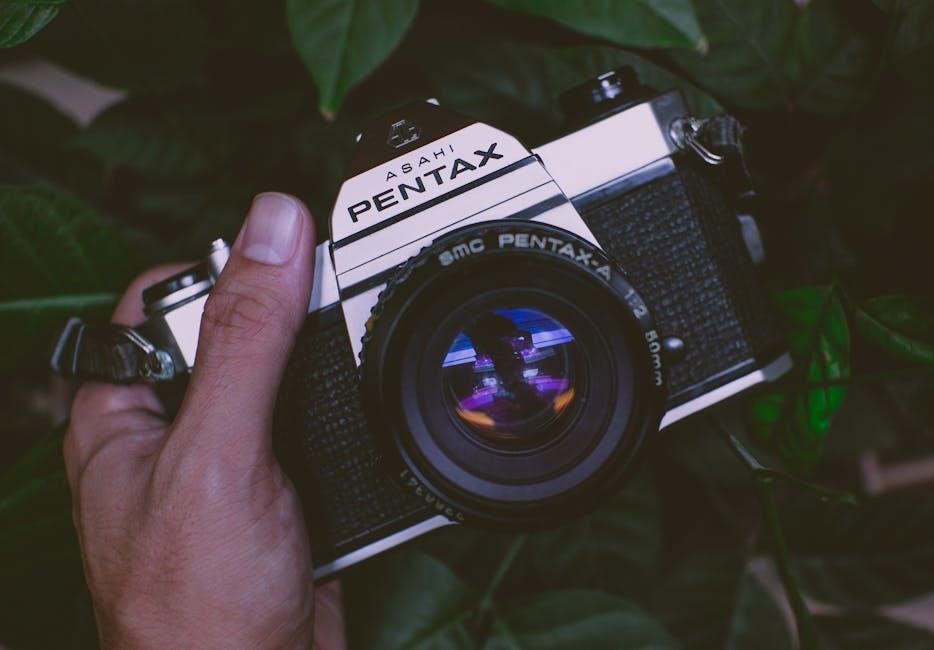
Front View: Lenses & Controls
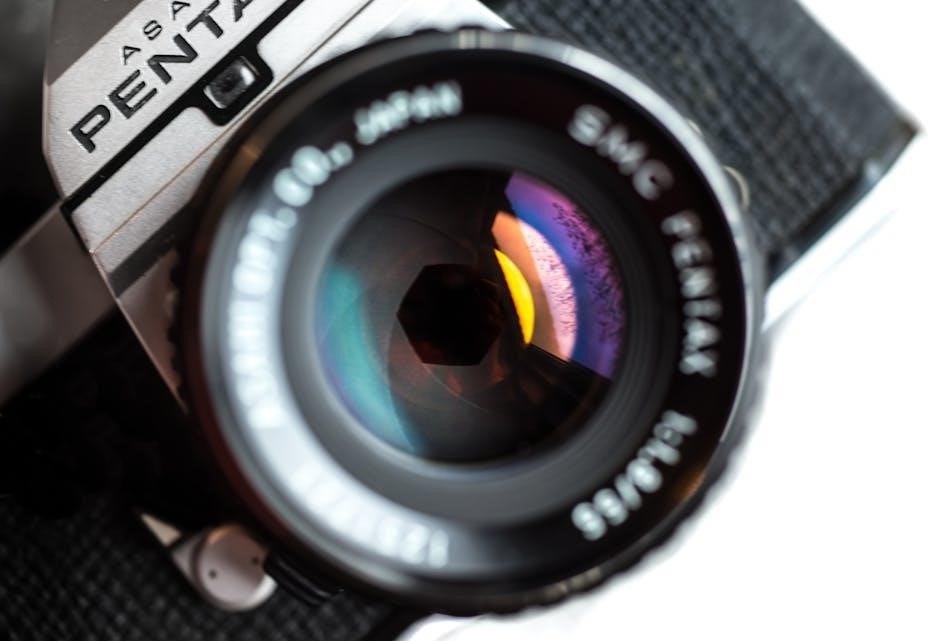
The front of the Pentax ME Super is dominated by the Pentax K-mount, accepting a wide range of compatible lenses. This bayonet mount ensures secure and precise lens attachment. To the right, you’ll find the self-timer control, allowing for delayed shutter release – perfect for self-portraits or group shots.
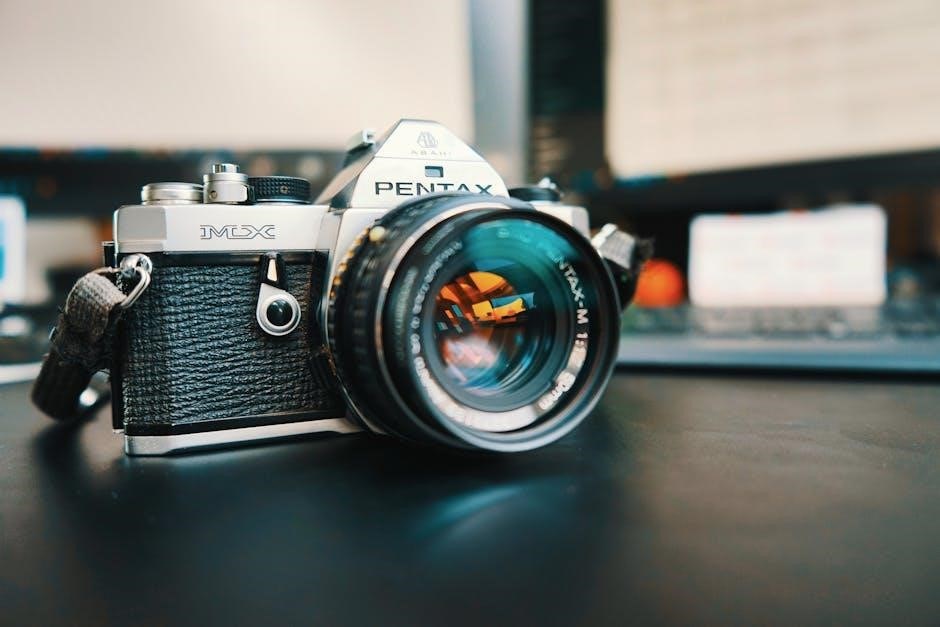
Observe the lens release button, crucial for swiftly changing lenses. The area surrounding the mount is designed for stability and minimal light leakage. Understanding these controls unlocks creative possibilities and ensures optimal image capture.
Top View: Shutter Speed, Exposure Modes & Film Advance
The top deck of the Pentax ME Super houses essential controls for photographic mastery. A prominent dial selects shutter speeds, ranging from 2 seconds to 1/1000th of a second, dictating motion blur or freezing action. Adjacent is the exposure mode selector – Av (Aperture Priority), Tv (Shutter Priority), and M (Manual) offering versatile control.
The film advance lever smoothly transports film, simultaneously cocking the shutter. The rewind crank prepares for film retrieval. Mastering these controls is key to achieving desired exposure and creative effects.
Back View: Film Compartment & Viewfinder Information
The rear of the Pentax ME Super reveals the film compartment, accessed via a latch for easy loading and unloading of 35mm film. The back also features the viewfinder window, presenting a bright and clear view of your subject. Within the viewfinder, crucial exposure information is displayed via LEDs – indicating over, under, or correct exposure.
These LEDs are integral to achieving properly exposed images, especially when utilizing the camera’s automatic exposure modes. Familiarize yourself with this information for optimal results.
Loading and Unloading Film
Successfully utilizing your Pentax ME Super begins with proper film handling. This section details the process of both loading and unloading 35mm film. The ME Super accommodates various film types, offering flexibility for different photographic styles. Careful adherence to the step-by-step loading process ensures the film advances correctly, preventing potential jams or damage.
Equally important is the correct rewinding procedure, safeguarding your exposed images. Mastering these techniques will contribute significantly to a smooth and enjoyable shooting experience.
Film Type Compatibility
The Pentax ME Super is designed for compatibility with standard 35mm film formats. This includes black and white negative film, color negative film, and color slide (transparency) film. ISO speeds ranging from 25 to 3200 are generally supported, allowing for diverse shooting conditions.
While modern films are readily usable, older or less common film types may require adjustments or testing. It’s advisable to start with commonly available films to familiarize yourself with the camera’s metering and exposure capabilities before experimenting with specialized stocks.
Step-by-Step Film Loading Process
Begin by opening the film back lever and inserting the film canister into the left side of the camera. Pull the film leader across the camera body to the take-up spool on the right. Ensure the film perforations engage with the sprockets.
Advance the film using the film advance lever, checking that the film is securely attached to the take-up spool. Close the film back and reset the film counter to ‘S’ before advancing a few frames to clear the leader.
Rewinding the Film Correctly
To rewind, locate the film rewind crank on the top right of the camera. Press the rewind release button on the bottom of the camera before gently pulling up on the rewind crank. Begin turning the crank in the direction of the arrow, feeling for resistance as the film retracts into the canister.
Continue rewinding until you feel the film leader completely release from the take-up spool. Open the film back and carefully remove the film canister, ensuring it’s protected from light.
Exposure Modes Explained
The Pentax ME Super offers three primary exposure modes: Aperture Priority (Av), Shutter Priority (Tv), and Manual (M). Aperture Priority allows you to select the desired aperture for depth of field control, while the camera automatically sets the shutter speed. Shutter Priority lets you choose the shutter speed for motion blur or freezing action, with the camera adjusting the aperture.
Manual mode grants full control over both aperture and shutter speed, ideal for challenging lighting or creative effects. Understanding these modes unlocks the camera’s full potential.
Aperture Priority Mode (Av)
In Aperture Priority (Av) mode, you, the photographer, dictate the lens aperture (f-stop), directly influencing depth of field. A wider aperture (smaller f-number like f/2.8) creates a shallow depth of field, ideal for isolating subjects with blurred backgrounds. Conversely, a narrower aperture (larger f-number like f/16) yields greater depth of field, keeping more of the scene in focus.
The Pentax ME Super then automatically calculates and sets the appropriate shutter speed for correct exposure, based on its metering system. This mode is excellent for portraiture and landscape photography.
Shutter Priority Mode (Tv)
Shutter Priority (Tv) mode empowers you to control the shutter speed, effectively freezing or blurring motion. A fast shutter speed (e.g., 1/500s) halts action, perfect for sports or wildlife photography. A slower shutter speed (e.g., 1/30s) introduces motion blur, useful for conveying a sense of movement or creating artistic effects like light trails.
The Pentax ME Super automatically adjusts the aperture to achieve proper exposure, based on the selected shutter speed and the camera’s metering. This mode is fantastic for action shots and creative experimentation.
Manual Mode (M)
Manual Mode (M) grants you complete creative control over both aperture and shutter speed. This mode bypasses the camera’s automatic settings, allowing you to independently determine the exposure. It’s ideal for challenging lighting situations where the meter might be fooled, or when you desire a specific aesthetic effect.
In Manual mode, you’ll rely on the camera’s metering system as a guide, but the final exposure decision rests with you. Mastering Manual mode unlocks the full potential of the Pentax ME Super, fostering a deeper understanding of photographic principles.
Metering System & How to Use It
The Pentax ME Super utilizes a center-weighted metering system, prioritizing the central portion of the frame for exposure calculation. Understanding this is crucial for accurate results. The camera measures light reflected from the scene and suggests aperture/shutter speed combinations.
To use it, half-press the shutter button; the needle in the viewfinder indicates exposure. Center the needle for correct exposure, adjusting settings accordingly. Familiarize yourself with the metering range to avoid underexposure or overexposure in extreme lighting conditions. Practice makes perfect!
Understanding the Metering Range
The Pentax ME Super’s metering system functions effectively within an EV range of 1 to 19 at ISO 100 with a 50mm f/1.4 lens. This range covers most common shooting scenarios, but awareness is key. Lower EV values indicate very dim lighting, potentially requiring slower shutter speeds or wider apertures.
Higher EV values signify bright conditions, demanding faster shutter speeds or smaller apertures. Outside this range, accurate metering becomes unreliable. Utilize exposure compensation to correct for challenging lighting, ensuring properly exposed images. Always check the viewfinder indication!
Spot Metering vs. Averaging Metering
The Pentax ME Super offers both spot and averaging metering modes, each suited for different situations. Averaging metering assesses the light across the entire frame, providing a general exposure. This is ideal for scenes with balanced lighting.
Spot metering, however, measures light from a very small area – roughly 5% of the frame – centered on the focusing spot. This is crucial when photographing subjects against bright or dark backgrounds, ensuring accurate exposure of the subject itself. Choose wisely based on scene complexity!
Exposure Compensation Techniques
The Pentax ME Super’s metering system isn’t always perfect; exposure compensation is vital for tricky lighting. Use the +/- button to adjust exposure. Positive compensation (+1, +2) brightens the image, useful for dark subjects against bright backgrounds like snow.
Negative compensation (-1, -2) darkens the image, ideal for bright subjects against dark backgrounds. Observe your light meter readings and adjust accordingly. Practice makes perfect – experiment to understand how compensation affects your final results!
Focusing Techniques with the Pentax ME Super
Achieving sharp images with the Pentax ME Super relies on mastering its focusing aids. The split-image focusing screen is your primary tool; align the divided image for critical focus. Remember depth of field – a smaller aperture (higher f-number) increases it, keeping more of the scene sharp.
Different lenses require adjustments. Longer focal length lenses demand more precise focusing. Practice focusing on both stationary and moving subjects to refine your technique and consistently capture tack-sharp photographs.
Using the Split-Image Focusing Screen
The Pentax ME Super’s split-image focusing screen is a brilliant aid for precise manual focusing. It presents a central area divided into two contrasting sections. Rotate the focusing ring on your lens until these two halves align perfectly, creating a seamless image.
This alignment indicates that your subject is in sharpest focus. It takes practice, but quickly becomes intuitive. Be mindful of lighting conditions; low light can make it harder to discern the split. Prioritize this technique for critical sharpness!
Depth of Field Control
Understanding depth of field is crucial for creative control with your Pentax ME Super. It refers to the range of distance that appears acceptably sharp in your photograph. Aperture is the primary control – wider apertures (smaller f-numbers like f/2.8) create shallow depth of field, ideal for isolating subjects.
Narrower apertures (larger f-numbers like f/16) yield greater depth of field, keeping more of the scene sharp. Focal length also plays a role; longer lenses generally produce shallower depth of field.
Focusing with Different Lenses
The Pentax ME Super’s focusing system adapts well to various lenses. While the split-image screen is effective, adjustments are needed based on focal length. Shorter focal length lenses require more precise focusing due to their shallower depth of field.
Longer lenses offer greater magnification, making focusing easier but demanding steadiness. Macro lenses necessitate extremely careful focusing, often utilizing slight body movements for fine adjustments. Always confirm sharpness through the viewfinder before releasing the shutter, regardless of the lens used.
Troubleshooting Common Issues
Encountering problems with your Pentax ME Super is common, but often easily resolved. Light leaks frequently stem from a worn door seal or faulty film door latch – inspect these carefully. Shutter issues might involve sluggish operation, potentially needing a professional cleaning.
Metering inaccuracies can arise from weak batteries or incorrect exposure compensation settings. Regularly check battery health and confirm your settings. If problems persist, consider professional calibration. Addressing these issues promptly ensures continued reliable performance from your classic camera.
Light Leaks and How to Prevent Them
Light leaks are a frequent issue with older cameras like the Pentax ME Super, resulting in unwanted flares on your images. The primary culprits are often worn light seals around the film door and film compartment. Regularly inspect these foam seals for cracks or deterioration.
Replacing these seals is a relatively inexpensive repair. Ensure the film door latch closes securely, creating a tight seal. Also, check the seals around the lens mount. Careful inspection and timely replacement of worn seals will significantly reduce the occurrence of light leaks, preserving image quality.
Shutter Problems & Solutions
The Pentax ME Super’s mechanical shutter is prone to issues if the camera remains unused for extended periods. A common problem is a sticky shutter curtain, resulting in inaccurate shutter speeds or complete failure. Avoid forcing the shutter release; this can cause further damage.
Gentle exercise by repeatedly cycling through all shutter speeds can sometimes resolve minor stickiness. If the problem persists, professional cleaning and lubrication by a qualified camera technician are recommended. Regular use helps prevent shutter issues, keeping your ME Super functioning reliably.
Metering Inaccuracies & Calibration
The Pentax ME Super’s metering system, while reliable for its time, can drift over years due to aging components. This may lead to consistently over- or underexposed images. Checking the meter’s accuracy is crucial for optimal results.
Compare the camera’s reading to a known accurate light meter in various lighting conditions. If discrepancies exist, professional calibration is advised. Avoid attempting self-calibration, as it requires specialized equipment and expertise. Regular checks and professional servicing ensure consistent and accurate exposure readings from your ME Super.
Lens Compatibility and Usage
The Pentax ME Super utilizes the Pentax K-mount, offering compatibility with a vast range of lenses produced over several decades. These lenses provide diverse focal lengths and apertures for various photographic needs. Older K-mount lenses may lack autofocus but deliver excellent image quality.
Adapters are available to mount lenses from other systems, like Canon or Nikon, onto the K-mount. However, full functionality (like automatic diaphragm control) isn’t always guaranteed. Always research adapter compatibility before purchasing to ensure optimal performance and avoid potential issues.
Pentax K-Mount Lenses
Pentax K-mount lenses represent a long and respected lineage of optical design, perfectly suited for the ME Super. Initially introduced in 1973, the K-mount provides a robust and reliable connection. You’ll find a wide selection of both manual focus and early autofocus lenses available.

Many K-mount lenses are known for their sharpness and build quality. Explore options from Pentax themselves, as well as third-party manufacturers like Sigma and Tamron. When selecting a lens, consider its focal length, maximum aperture, and intended photographic application for best results.
Adapting Other Lens Mounts
The Pentax ME Super, with its K-mount, offers exciting possibilities for adapting lenses from other systems. Adapters allow you to utilize lenses originally designed for Canon, Nikon, Olympus, and more. However, remember that full functionality isn’t always guaranteed.
Adapters typically allow for manual focusing and aperture control. Autofocus and automatic diaphragm functions usually won’t work. Research adapter quality carefully, as cheaper options can introduce image degradation. Ensure the adapter is specifically designed for the K-mount to ensure a secure and accurate fit.
Maintenance and Care
Proper maintenance ensures your Pentax ME Super remains in optimal working condition for years to come. Regularly clean the camera body with a soft, dry cloth to remove dust and fingerprints. Avoid using harsh chemicals or solvents. The lens should be cleaned with a lens brush and cleaning solution designed for photographic optics.
Store the camera in a cool, dry place, away from direct sunlight and extreme temperatures. Periodically check the light seals for deterioration, replacing them if necessary to prevent light leaks. Avoid forcing any controls, and have the camera professionally serviced if needed.