
This manual details the d16y8 transmission‚ a popular choice for Honda enthusiasts. It provides comprehensive guidance for operation‚ maintenance‚ and repair‚ mirroring online resources from 2025.
What is the d16y8 Transmission?
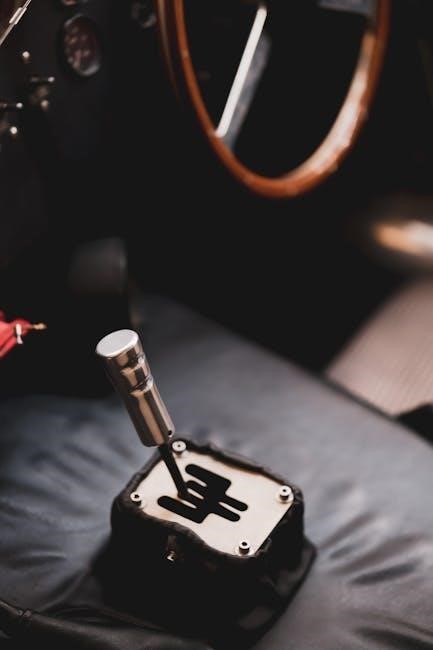
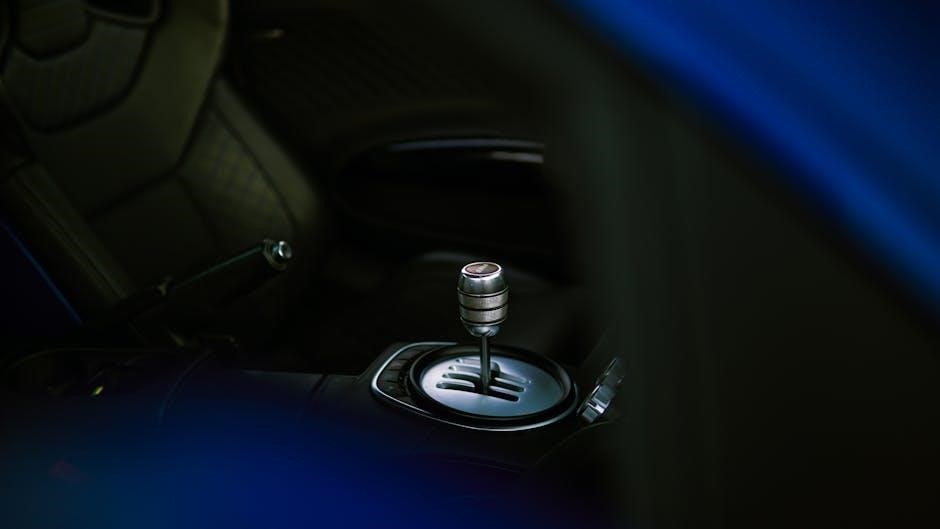
The d16y8 transmission is a 5-speed manual gearbox commonly found in 1996-2000 Honda Civic models. It’s renowned for its durability and relatively short gear ratios‚ making it a favorite for performance applications. Unlike some automatic counterparts‚ the d16y8 offers drivers complete control over gear selection‚ enhancing the driving experience.
Online resources from late 2025 confirm its continued relevance within the Honda tuning community. It’s a cost-effective upgrade for those seeking a more engaging and responsive driving feel. The transmission’s robust construction allows it to handle increased power levels with appropriate modifications. Understanding its internal components and operation is crucial for proper maintenance and repair‚ as detailed in this manual.
Importance of a Manual
Choosing a manual transmission‚ like the d16y8‚ offers significant advantages. Drivers gain precise control over engine RPM and gear selection‚ leading to improved fuel efficiency and a more connected driving experience. Manual transmissions generally require less maintenance than automatics‚ reducing long-term costs.
The d16y8 specifically allows for greater power transfer and responsiveness‚ appealing to enthusiasts. Online discussions from 2025 highlight its popularity for modifications and track use. A manual transmission empowers the driver‚ fostering a deeper understanding of vehicle mechanics. This manual provides the knowledge to maintain and optimize the d16y8‚ ensuring years of reliable performance and driving enjoyment.

Understanding the d16y8 Transmission Components
This section details the core elements of the d16y8: gear sets‚ the clutch system‚ and the differential. Understanding these parts is crucial for effective maintenance.
Gear Sets and Ratios
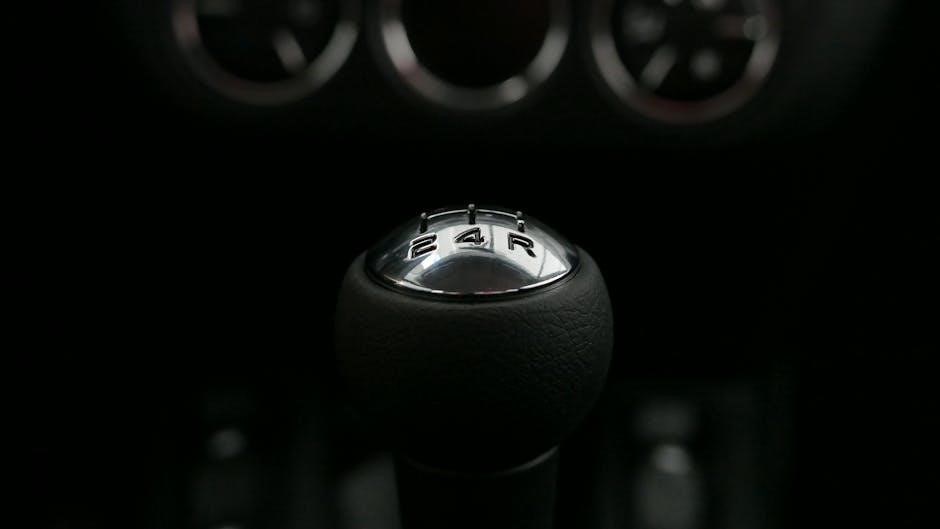
The d16y8 transmission utilizes a robust set of gears designed for both performance and fuel efficiency. These gears work in concert to provide a range of ratios‚ optimizing engine output for various driving conditions. First gear offers substantial torque for acceleration‚ while higher gears prioritize highway cruising;
Understanding these ratios is vital for diagnosing performance issues and selecting the appropriate final drive for your specific application. The transmission typically features close-ratio gearing‚ enhancing responsiveness. Precise gear engagement is paramount‚ and any wear or damage can lead to shifting problems. Detailed specifications regarding individual gear ratios are essential for accurate rebuilds and modifications‚ ensuring optimal functionality and longevity of the d16y8 transmission.
Clutch System Details
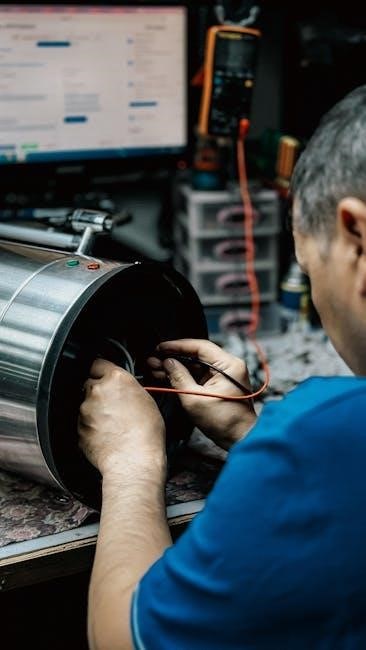
The d16y8 transmission’s clutch system is a critical component‚ responsible for smoothly transferring engine power to the gearbox. It typically employs a diaphragm spring clutch‚ offering consistent clamping force and reliable operation. Proper clutch adjustment is essential for preventing slippage or harsh engagement. Regular inspection of the clutch disc‚ pressure plate‚ and throw-out bearing is vital for identifying wear and tear.
Symptoms of a failing clutch include difficulty shifting‚ a burning smell‚ and reduced acceleration. Understanding the hydraulic or cable-operated actuation system is key to troubleshooting. Maintaining adequate clutch fluid levels (if applicable) and ensuring proper cable tension are crucial preventative measures. A worn clutch will significantly impact performance and drivability‚ necessitating timely replacement for optimal functionality.
Differential and Final Drive
The d16y8 transmission incorporates a differential‚ enabling the wheels to rotate at different speeds during cornering. This prevents wheel binding and ensures smooth handling. The final drive‚ typically utilizing a ring and pinion gear set‚ reduces the engine’s rotational speed and increases torque delivered to the wheels. Inspecting the differential for proper lubrication and wear is paramount for longevity.
Listen for unusual noises‚ such as whining or clunking‚ which may indicate differential issues. Checking the differential fluid for metal shavings is a crucial diagnostic step. The final drive ratio significantly impacts acceleration and top speed; understanding this ratio is vital for performance tuning. Maintaining proper fluid levels and using the correct lubricant type are essential for preventing premature wear and ensuring reliable operation of this vital drivetrain component.

d16y8 Transmission Removal and Installation
This section outlines the safe removal and re-installation of the d16y8 transmission. Detailed step-by-step instructions‚ alongside crucial safety precautions‚ are provided for a successful process.
Preparation and Safety Precautions
Before commencing d16y8 transmission work‚ meticulous preparation is paramount. Disconnect the negative battery terminal to prevent electrical shorts. Securely lift and support the vehicle using jack stands – never rely solely on a jack. Gather all necessary tools: sockets‚ wrenches‚ extensions‚ a torque wrench‚ and transmission jack.
Drain the transmission fluid while it’s warm‚ but not hot‚ into a suitable container. Wear safety glasses and gloves to protect against fluid contact. Be mindful of the transmission’s weight; it’s a heavy component requiring careful handling. Ensure the work area is well-lit and free of obstructions. Properly support the engine to prevent strain on mounts during removal. Familiarize yourself with the bolt locations and sequences before starting.
Removal Procedure ⎼ Step-by-Step
Begin by disconnecting the shift linkage and all electrical connectors from the transmission. Support the engine from above. Remove the driveshafts‚ carefully noting their orientation. Unbolt the starter and exhaust components obstructing access. Support the transmission with a transmission jack‚ ensuring it’s securely positioned.
Remove the transmission mount bolts. Slowly lower the transmission‚ guiding it away from the engine. Pay attention to potential snag points – wiring harnesses or hoses. Once clear‚ carefully maneuver the transmission out from under the vehicle. Inspect the flywheel and clutch for wear during removal. Document the process with photos for easier reinstallation. Proper support throughout is crucial to avoid damage.
Installation Procedure ⎻ Step-by-Step
Carefully raise the d16y8 transmission into position using a transmission jack. Align the input shaft with the clutch disc and pilot bearing. Gently push the transmission onto the engine‚ ensuring complete engagement. Install and tighten the transmission mount bolts securely. Reconnect the driveshafts‚ verifying correct orientation as noted during removal.
Reinstall the starter and exhaust components. Connect all electrical connectors and the shift linkage‚ confirming proper operation. Double-check all bolts and fasteners for tightness. Lower the engine support. Finally‚ test the shift linkage for smooth engagement in all gears. A thorough inspection ensures a reliable installation and prevents future issues.
d16y8 Transmission Troubleshooting
Diagnosing d16y8 transmission issues requires a systematic approach. Common problems include grinding gears‚ slipping clutches‚ and unusual noises‚ demanding careful inspection.
Common Issues and Symptoms
Several issues can plague the d16y8 transmission‚ manifesting in distinct symptoms. Grinding during gear changes‚ particularly when shifting into first or reverse‚ often indicates worn synchronizers. Slipping clutches present as engine revving without corresponding acceleration‚ demanding immediate attention.
Unusual noises – whining‚ clunking‚ or rattling – can signal bearing failure or internal gear damage. Difficulty selecting gears‚ or gears popping out of engagement‚ points towards bent shift forks or worn detent pins.
Fluid leaks‚ often appearing near the transmission case‚ suggest damaged seals. A burning smell typically indicates clutch overheating. Ignoring these symptoms can lead to catastrophic failure‚ necessitating a complete transmission rebuild or replacement. Regular inspection and prompt attention to these warning signs are crucial for longevity.
Diagnosing Transmission Problems
Accurate diagnosis is key to resolving d16y8 transmission issues. Begin with a thorough visual inspection for fluid leaks and external damage. A road test‚ carefully noting when symptoms occur (gear‚ speed‚ load)‚ provides valuable clues. Listen intently for unusual noises – whining‚ grinding‚ or clunking – and pinpoint their origin.
Check the clutch linkage for proper adjustment and free play. Inspect the shift linkage for looseness or damage. Drain and examine the transmission fluid for metal shavings‚ a sign of internal wear.
A compression test can rule out engine-related issues mimicking transmission problems. If symptoms persist‚ a professional mechanic with specialized tools may be required for internal inspection and component testing.

d16y8 Transmission Maintenance
Regular maintenance extends the d16y8’s lifespan. This includes timely fluid changes‚ clutch inspection‚ and external checks for leaks or damage‚ ensuring optimal performance.
Fluid Type and Change Intervals
Selecting the correct fluid is crucial for d16y8 transmission longevity. Honda recommends using Honda Genuine Manual Transmission Fluid (MTF)‚ ensuring proper lubrication and synchro performance. Avoid using universal gear oils‚ as they may lack the necessary additives and cause shifting issues.
Regarding change intervals‚ a general guideline is to replace the MTF every 30‚000 to 60‚000 miles‚ depending on driving conditions. Aggressive driving‚ frequent towing‚ or track use necessitate more frequent changes – consider intervals as short as 30‚000 miles.
Regularly inspect the fluid’s condition. Dark‚ metallic-flecked fluid indicates wear and requires immediate replacement. A simple fluid check can prevent costly repairs down the line‚ maintaining smooth and reliable gear engagement. Always dispose of used fluid responsibly‚ following local environmental regulations.
Clutch Adjustment and Inspection
Proper clutch adjustment is vital for smooth shifting and preventing premature wear on the d16y8 transmission. Regularly inspect the clutch cable for fraying or damage‚ and ensure proper lubrication. Adjust the clutch pedal free play to the manufacturer’s specifications – typically around 0.5 to 1.0 inches.
Inspect the clutch disc and pressure plate during transmission service. Look for signs of glazing‚ cracking‚ or uneven wear. A slipping clutch manifests as high engine RPMs with minimal acceleration. A dragging clutch causes difficulty shifting into gear.
Address any issues promptly. Replacing worn components ensures optimal performance and prevents further damage to the transmission and related components; Consistent inspection and adjustment contribute to a reliable driving experience.
External Inspection and Checks
A thorough external inspection of the d16y8 transmission can reveal potential issues before they escalate. Begin by checking for fluid leaks around the transmission housing‚ input and output shafts‚ and the differential. Any signs of fluid indicate a potential seal failure requiring attention.
Inspect the shift linkage for looseness or damage. Ensure smooth and precise gear selection without excessive play. Examine the driveshafts for torn boots‚ which can lead to contamination and joint failure. Listen for unusual noises‚ such as whining or clunking‚ during operation.
Regularly check the transmission mount for cracks or deterioration. A compromised mount can cause excessive vibration and stress on the transmission. Proactive external checks contribute to preventative maintenance and extend the transmission’s lifespan.
d16y8 Transmission Repair
Detailed repair procedures cover synchro‚ bearing‚ and gear replacement. This section guides users through complex tasks‚ ensuring proper function and longevity of the d16y8.
Synchro Replacement
Synchro replacement on the d16y8 transmission requires precision and careful attention to detail. Begin by completely disassembling the transmission‚ carefully noting the position of all components. Inspect the synchro sleeves and cones for wear or damage; scoring or excessive wear necessitates replacement.
Before installing new synchros‚ ensure the shift forks are straight and move freely. Apply a thin coat of Honda Bond or similar sealant to the synchro sleeve before installation. Proper torque specifications are crucial during reassembly to avoid damage or improper function. Verify proper gear engagement and smooth shifting after completing the repair. Incorrect installation can lead to grinding or difficulty selecting gears.
Bearing Replacement
Replacing bearings within the d16y8 transmission is a critical step in a comprehensive rebuild. Carefully remove the old bearings using a bearing puller‚ avoiding damage to the surrounding case or shafts. Thoroughly inspect the bearing bores for any signs of pitting or corrosion; clean and deburr as needed.
When installing new bearings‚ utilize a bearing press to ensure proper seating and avoid cocking. Apply a generous amount of high-temperature grease to the bearing before installation. Pay close attention to bearing preload; incorrect preload can lead to premature failure. Verify shaft rotation is smooth and free of binding after bearing installation. Always replace related seals during bearing service.
Gear Replacement Procedures
Replacing gears within the d16y8 transmission requires precision and careful attention to detail. Begin by thoroughly inspecting the gear teeth for wear‚ chipping‚ or damage. Before removal‚ mark the gear position relative to its shaft for reassembly reference. Utilize a gear puller to carefully separate the gear from the shaft‚ avoiding damage to the splines.
Clean the gear bore and shaft splines before installing the new gear. Apply a thin coat of assembly lubricant to the splines to facilitate installation. Ensure the gear meshes smoothly with its mating gear‚ checking for proper backlash. Torque all gear retaining bolts to the manufacturer’s specifications. Verify proper gear operation before final assembly.